

Move Out Cleaning for Renters That Protects Deposits

The boxes are taped, the truck is booked, and then you look around the apartment. The marks behind the sofa, crumbs in the drawers, and grease on the range suddenly feel much bigger. Move out cleaning for renters is about more than leaving a nice impression. It is your chance to return the home in lease-ready condition, make the final walk-through easier, and put yourself in the strongest position for a full security-deposit return.
A clean, empty space makes every detail visible. That is why the final clean deserves a plan, not a rushed hour with a few paper towels. Whether you are moving across Charlotte or settling into a new place in Concord, Cornelius, Gastonia, or Monroe, the goal is simple: leave the home fresh, documented, and ready for the next resident.
Start With Your Lease, Not the Cleaning Supplies
Before you scrub a single surface, review your lease and any move-out instructions from your landlord or property manager. Some communities provide a checklist that spells out expectations for appliances, floors, blinds, patios, and trash removal. Others may identify approved carpet-cleaning requirements or charge a specific fee if certain work is not completed.
Pay attention to deadlines for returning keys, garage remotes, parking passes, and proof of any required service. If your lease calls for professional carpet cleaning, save the receipt. If the unit had damage or stains when you moved in, compare your move-in photos and inspection notes before assuming the cost is yours.
Cleaning does not erase true damage, and renters generally are not responsible for normal wear such as gently faded paint or a carpet that has aged through ordinary use. The exact standard can vary by lease and property, though, so clear communication is always worth the effort.
Build Your Move Out Cleaning Checklist Room by Room
The best move-out cleaning happens after the apartment is empty or nearly empty. Furniture hides dust, scuffs, and forgotten belongings. Once rooms are cleared, work from high to low: dust ceilings and vents first, wipe surfaces next, then vacuum and mop at the end.
Kitchen: Focus on Grease, Crumbs, and Appliances
The kitchen often takes the longest because grease travels farther than it looks. Clean inside cabinets and drawers, including the corners where crumbs collect. Wipe cabinet fronts, handles, countertops, backsplash, sink, faucet, and light switches. Do not forget the top of the refrigerator and the outside of the range hood.
For appliances, remove shelves and drawers when possible and clean the refrigerator, oven, microwave, dishwasher filter area, and stovetop according to manufacturer guidance. Empty every drawer, throw away food, and wipe down the trash can area. A spotless kitchen should feel ready for someone to unpack groceries immediately.
Bathroom: Remove Buildup, Not Just Surface Dust
Bathrooms need close attention around the toilet base, shower tracks, faucets, grout lines, and exhaust fan cover. Soap film on glass, mineral deposits on fixtures, and hair in drains can make an otherwise clean bathroom feel unfinished.
Use products that suit the surface. Abrasive tools may scratch certain tubs, countertops, or polished fixtures, while harsh chemicals can damage finishes or create fumes in small spaces. Ventilate the room, follow product directions, and rinse thoroughly. The aim is a bright, fresh bathroom, not a rushed clean that leaves residue behind.
Bedrooms and Living Areas: Look Where Furniture Was
Move furniture and area rugs before packing if you can. Check baseboards, windowsills, closet shelves, ceiling fans, vents, outlet covers, doors, and the wall behind the bed or sofa. Vacuum upholstered furniture before it leaves if you are taking it with you, then vacuum the exposed floor carefully.
Wall marks are a common concern. Start gently with a damp microfiber cloth and a mild cleaner. If you need to touch up paint, only do so with the correct color and finish. A mismatched patch can be more noticeable than a light scuff, so it may be better to ask the property manager how they prefer it handled.
Floors, Carpets, and Outdoor Areas: Finish Strong
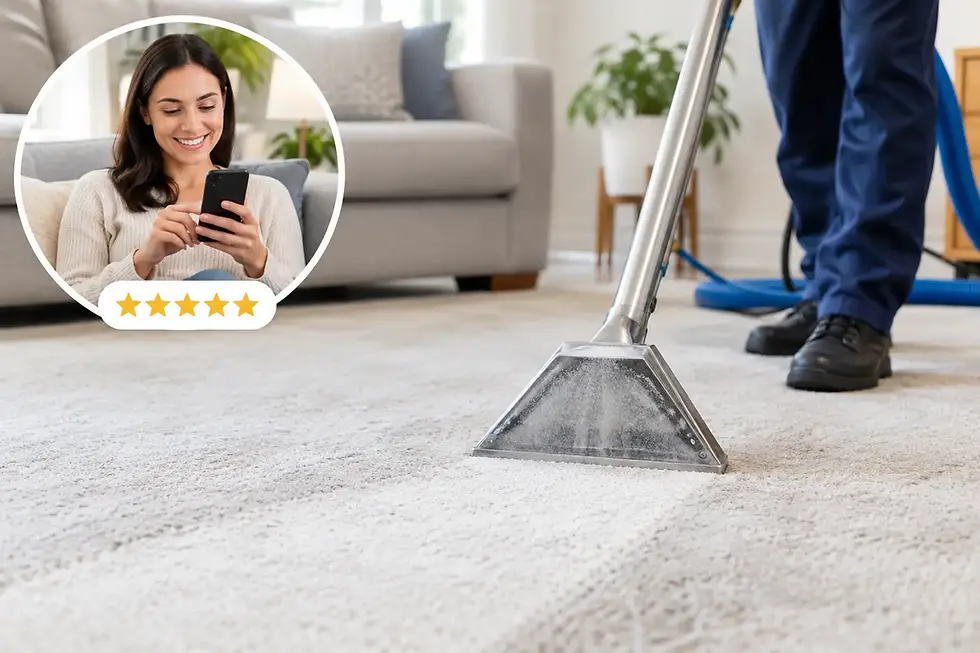
Vacuum carpets slowly, including closet floors and edges along the baseboards. Treat stains carefully rather than saturating them with random products. Some stains need professional treatment, especially pet accidents, heavy traffic marks, or spills that have set into the fibers.
Sweep and mop hard floors with a product appropriate for the material. Too much water can damage wood and laminate. If your rental includes a balcony, patio, garage, or storage area, remove personal items and sweep it out unless your lease says otherwise. Take all trash to the designated collection area so it does not become a last-minute disposal charge.
Do Not Skip the Details That Trigger Deductions
A property manager may notice the same small details during a walk-through that are easy to overlook during a hectic move. Before you return the keys, take one slow lap through every room and look at the space from the doorway.
Check these frequently missed areas:
Inside the refrigerator, oven, microwave, cabinets, and drawers
Ceiling fans, blinds, window tracks, vents, and light fixtures
Baseboards, door frames, switch plates, and closet shelving
Behind appliances and around the toilet base
Pet hair, odors, trash, and personal items in storage spaces
This is not about chasing perfection where the lease does not require it. It is about making sure the home looks cared for, not abandoned in the rush of moving day.
Take Photos After You Clean
Documentation is one of the easiest ways to protect yourself. After the cleaning is complete and before you hand over access, take well-lit photos and a quick video of each empty room. Capture appliance interiors, bathroom fixtures, floors, walls, closets, and any existing damage you discussed with the landlord.
Keep a copy of your move-out checklist, relevant messages, and receipts for professional services. If questions come up later, organized records are much more helpful than trying to remember what the home looked like after the fact.
When Professional Move Out Cleaning for Renters Makes Sense
A do-it-yourself move-out clean can work well for a small, well-maintained rental when you have time, the right supplies, and enough energy left after packing. But there are situations where professional help can be the smarter choice: a tight move-out deadline, a larger home, a kitchen with heavy buildup, carpet stains, pet hair, or a landlord with detailed cleaning standards.
Professional service is also useful when your new home needs attention at the same time. Instead of splitting your weekend between two addresses, you can focus on movers, utilities, and the many decisions that come with relocating. The trade-off is cost, so ask for a clear service scope and make sure it covers the rooms and details that matter for your rental.
For renters in the greater Charlotte area, Totally Cleaning Services can tailor a move-out cleaning around your property, schedule, and priorities. Trained cleaning professionals, eco-conscious materials, flexible appointments, and responsive support help turn a demanding final task into a clean, confident handoff.
Plan the Final 24 Hours Carefully
Try to schedule cleaning after the movers have removed the last major item, but before your key-return appointment. Keep a small cleaning caddy with microfiber cloths, a vacuum, trash bags, a multipurpose cleaner, glass cleaner, and a mop available until the very end. You will almost always need it for a final wipe of a counter or a sweep near the door.
Before leaving, confirm that all personal items are gone, windows are closed, lights are off, and keys and access devices are ready to return. Then walk out knowing the space is clean enough to welcome its next chapter, while you get to focus on yours.


Comments