

How to Clean Rental Property Before Move-Out

A final walk-through can feel surprisingly high-stakes. You have boxes to move, keys to return, and a security deposit you would rather see back in your account. Knowing how to clean rental property thoroughly helps you leave with confidence, whether you are moving across Charlotte or settling into a new home in Concord, Cornelius, Gastonia, or Monroe.
The goal is not to make an older rental look brand new. It is to remove the dirt, residue, and personal traces left behind during your tenancy, then return the home in the condition your lease reasonably requires. A detailed clean also makes the property manager’s inspection easier and gives the next resident a welcoming place to call home.
Start With Your Lease and Inspection Notes
Before filling a bucket, review your lease, move-in inspection form, and any move-out instructions from your landlord or property manager. Some properties require professional carpet cleaning, while others specify how appliances, blinds, or outdoor areas should be handled. If you made notes or took photos when you moved in, compare them with the property now.
Normal wear and tear is different from cleaning. Faded paint, minor aging of flooring, and ordinary use over time may not be your responsibility. Grease inside the oven, buildup in the shower, food crumbs in cabinets, or stains caused during your stay are another matter. When you are unsure, ask the property manager before spending time or money on a fix that may not be necessary.
Plan your cleaning after furniture and most boxes are out. Empty rooms reveal dust along baseboards, marks behind doors, and the small details that are easy to miss when a space is fully lived in.
Gather Supplies That Match the Surfaces
A basic move-out kit should include microfiber cloths, a vacuum with attachments, a mop, a scrub brush, sponges, a dusting tool, gloves, a bucket, and trash bags. Choose cleaners that are appropriate for the materials in the home. A gentle all-purpose cleaner works well for many sealed surfaces, while glass cleaner, bathroom cleaner, degreaser, and a floor-safe product can handle more specific jobs.
Eco-conscious products can be a smart choice, especially when the home has children, pets, or sensitive occupants. They still need to be used correctly. Never mix cleaning chemicals, particularly bleach and ammonia-based products, and always ventilate bathrooms and kitchens while cleaning. Test a new product in a hidden spot before applying it to natural stone, wood, specialty tile, or painted surfaces.
Cleaning from top to bottom prevents repeat work. Dust ceiling fans and high shelves first, then wipe counters and fixtures, and finish with the floors. Work one room at a time so a partly cleaned home does not become a frustrating loop of backtracking.
How to Clean a Rental Property Room by Room
Kitchen: Focus on Grease, Crumbs, and Appliances
The kitchen often gets the closest inspection because it holds the most hidden residue. Begin by removing everything from cabinets, drawers, and the refrigerator. Vacuum or wipe out crumbs, then clean interior surfaces with a lightly damp cloth. Do not forget cabinet fronts, handles, and the narrow edges around drawer pulls.
Clean countertops, the backsplash, sink, faucet, and disposal area. If the sink has mineral deposits, let an appropriate cleaner sit briefly before scrubbing gently. Wipe the outside of major appliances, including the handles, control panels, sides, and the floor underneath if accessible.
For the oven, remove racks and follow the manufacturer’s cleaning guidance. A self-cleaning cycle can be effective, but it creates heat and odor, so only use it if the appliance instructions allow it and you have time to ventilate the home. Degrease the stovetop, burners, hood, and microwave interior. Finish by cleaning the refrigerator shelves, drawers, seals, and exterior, then leave it empty and dry if your move-out instructions request it.
Bathroom: Remove Soap Scum and Restore Shine
Bathrooms show quickly whether a rental has received a detailed clean. Spray the shower, tub, tile, toilet, and sink with products suited to each surface, allowing the cleaner enough dwell time to loosen buildup. Scrub grout carefully rather than aggressively, since harsh tools can damage it.
Pay attention to the places people see up close: faucet bases, drain covers, shower doors, toilet hinges, mirrors, light switches, and vanity handles. Wipe inside cabinets and drawers, then clean the floor around the toilet and behind the door. A fresh, streak-free mirror and a polished faucet can make the entire room feel brighter.
Bedrooms and Living Areas: Catch the Overlooked Details
Empty each closet and wipe shelves, rods, doors, and baseboards. Dust window sills, blinds, ceiling fan blades, vents, light fixtures, and door frames. A vacuum attachment is especially useful for vents, corners, upholstery, and the tracks around sliding doors.
Use a damp microfiber cloth to remove fingerprints from switches, outlet covers, door handles, and walls where appropriate. For wall marks, start gently with water and a soft cloth. Scrubbing too hard can remove paint and create a bigger issue than the original scuff.
Clean windows only if they are safely reachable and your lease calls for it. Wipe interior glass, window tracks, and screens, but do not attempt risky exterior window cleaning from a ladder. That is a job better left to a properly equipped professional.
Floors: Finish Last
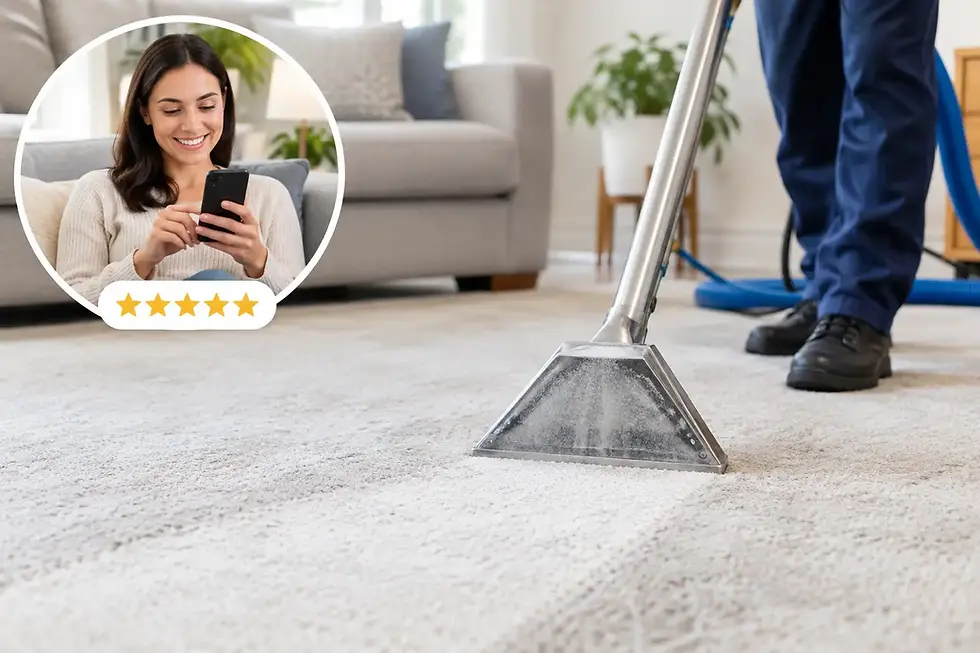
Vacuum carpets slowly, including edges, closets, stairs, and under any remaining furniture. Treat stains based on the carpet fiber and stain type. If your lease requires professional carpet service, keep the receipt and provide it to the property manager if requested.
Sweep hard flooring before mopping, then use a cleaner made for that material. Excess water can damage wood and some laminate floors, so use a well-wrung mop instead of soaking the surface. Check corners and transitions between rooms, where dust tends to collect.
Don’t Miss These Move-Out Inspection Points
The details below are common reasons an otherwise clean rental falls short at inspection:
Light switches, outlet covers, doorknobs, and door edges
Baseboards, air vents, ceiling fans, and window tracks
Cabinet interiors, drawer corners, and pantry shelves
Refrigerator seals, oven racks, and the area beneath appliances
Shower corners, toilet bases, and bathroom exhaust vents
Closets, balconies, patios, garages, and any storage space included in the lease
Take photos after cleaning each room. Clear, well-lit photos create a useful record of the property’s condition, especially if a deposit question arises later. Return keys, remotes, parking passes, and mailbox keys according to the move-out instructions, and keep copies of every document you submit.
When Professional Move-Out Cleaning Makes Sense
A DIY clean can work well when the rental is small, lightly used, and you have enough time before your deadline. The trade-off is that move-out cleaning takes longer than most people expect. Grease, soap scum, carpet stains, and overlooked areas can turn a simple Saturday task into several exhausting days.
Professional help is often worth considering when you are moving on a tight schedule, managing a large home, dealing with pets, or preparing a property for new tenants. A trained team can tailor the scope to the property’s needs, whether that means deep-cleaning kitchens and bathrooms, refreshing carpets, or handling a full move-in or move-out service. Totally Cleaning Services offers flexible cleaning options for Charlotte-area residents who want dependable, detailed results without adding another major task to moving week.
If you hire a service, be clear about your lease requirements and ask what is included. Carpet extraction, inside-appliance cleaning, wall washing, and exterior spaces may be separate services depending on the company and property. Booking early gives you more scheduling flexibility, while same-day options can be helpful when an unexpected inspection or move date changes your plans.
Give Yourself a Final Walk-Through
Once the home is clean, walk through it with fresh eyes. Open every cabinet, turn on lights, look behind doors, and stand in each room as though you were seeing it for the first time. Check for stray belongings, trash, cleaning supplies, and lingering odors.
A calm final walk-through is more than a last chore. It is the moment you close one chapter knowing you left the space clean, cared for, and ready to welcome whoever comes next.


Comments